
For the next few Tuesdays, I'm going to be showing off what we've done thus far this summer as none of the projects are intricate enough to warrant a how-to breakdown. The bathroom is 100% finished, so I thought it would be the best place to start~*

Our house has three bathrooms. One full, one 1/2 and one in the basement laundry room. The half bath is in Thing 3's room-- at the risk of repeating myself, we gave Bayley {Thing 1, who has ok'd using her name on the blog} the master bedroom, and we converted the side living room into our bedroom. When Bay moved out, Thing 3 {who has not ok'd using her real name on the blog} moved in. WE actually just finished her bathroom too & it will be shown off in another post.
Anyway.
We sacrificed having a private bathroom for the extra space for our bedroom. So. Thing 2 {also preferring anonymity} and us share the main bathroom-- which also serves as a guest bathroom. Complicated.
When we moved in, the bathroom was revolting. We tore everything out, removed the rotting tiles & linoleum flooring, and refinished the whole shebang. We got the glass pedestal sinks online for a steal, and I plumbed them into place. The flooring we brought in professionals for~*
Replacing the double sink vanity with two pedestal sinks opened up the room, but denied us storage space. I had a china cabinet from my Grandma that had seen better days & I had intended to restore it. But the bathroom seemed like a perfect, unexpected place for it. So instead of refinishing it, I painted it.
I like the whole shabby chic aesthetic, so I soaped all the edges of the cabinet before painting it. You just run a bar of soap along the edges where one would expect natural wear to occur. Then apply the paint. Now this is an "authentic" distressing-- meaning that rather than use sand paper/steel wool or some other agent to remove paint, you just allow nature to take its course. The paint will not solidly adhere to the places the soap was applied, so it will peel away faster than without it-- but only in places where there is natural friction (the outer edges of drawers, where the doors drag on the ledge etc). The end result is, that with a little regular use, you'll have a piece that legitimately looks like it is aged paint.

I have long been painting the interior of cabinets-- its a technique that has been around forever, though judging from the web it is making a comeback. I had the interior of the cabinet painted a dark turquoise, but decided to freshen it up using the same color as the wall paint in this room redo.

We bought some inexpensive seagrass baskets {his and hers}to store bathroom sundries, and we also have the storage in the cabinet itself. We store hairbrushes and my make up brushes in a vase & mug respectively. Bayley bought me the white rabbit mug-- I'm an Alice in Wonderland fanatic. Well, a Through the Looking Glass fanatic really, but you get the drift. The books, not the movies. Just to be clear.

I used an old swing arm dish towel holder {like this} to keep my necklaces straight, and add a little interest to the interior of the cabinet. It is very convenient, keeps my necklaces from tangling, & just looks cool~*


What would have been the silverware drawer holds my makeup. I've used various things to keep everything organized: a silverware holder {fitting, no?}, some tupperware, a chipped bowl.
I'm a bit of a lipstick hoarder, as it turns out.


I repainted the mirror frames mint with white dots. Here's what they looked like last summer, if you're curious.


That pretty 1940s vase was another inheritance from my Grandma. She has a purple "sister" in the craft room. I think she fits perfectly in the redone bathroom as a simple window sill decoration, along with a blue on blue garland I picked up on sale at a craft store forever ago. I frosted the windows using glass spray paint {like this}, so that we could have the light along with the privacy.
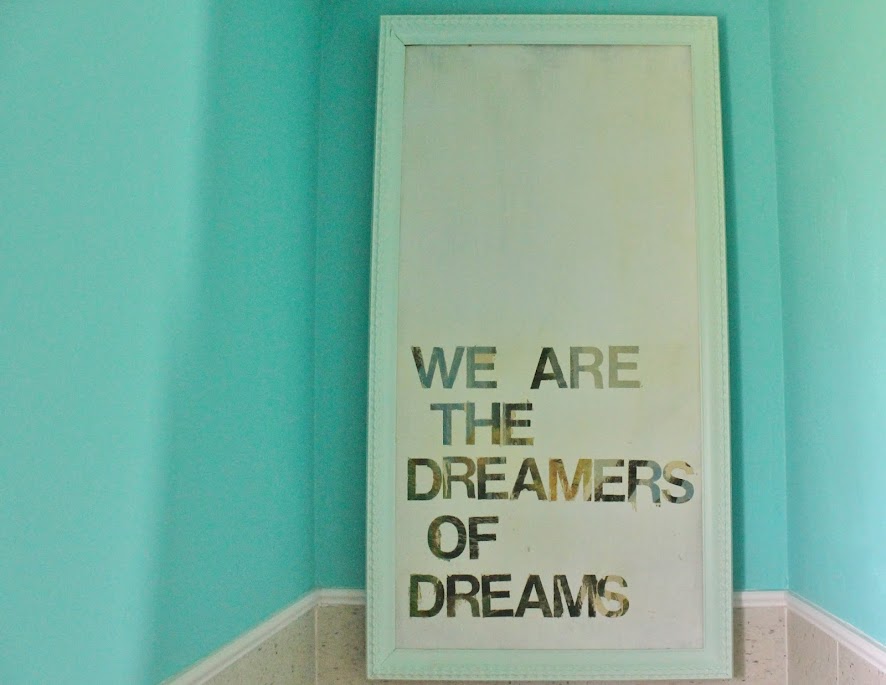
Here's the original DIY for the quote art that hangs above the..ahem..commode. You can also see the bright yellow I originally painted the quote-art frame-- also redone in mint. I decided to "undo" the yellow because it was too spring-like-- very limited for decorating purposes. This more blue-neutral palate will be easier to deal with seasonally.

The only new purchases were the rug mats/lid cover set and the ruffled shower curtain-- both picked up on amazon.com. I had originally thought I'd get a lighter aqua color for the rugs, but the room gets a ton of traffic and I figured I'd be washing them every other day if I went lighter. So deep aqua it is. I'm thinking of making my own shower mat out of left over fabrics in the appropriate colors...we'll see.
I love the sweet ruffles of the shower curtain-- they remind me of 1930s ball gowns. I'm going a bit ruffle mad lately truth be told.

I think I'm going to get ruffled curtains for the closet in the craftroom/guest room. But that will have to wait for another post~*


So bright and cheerful! Great job, lady! All that turquoise is perfect in a bathroom.
ReplyDeleteThank you! I think it has a nice vintage vibe & I'm a color junkie, so it fits my aesthetic nicely lol
DeleteEverything looks amazing! Awesome work. I love the blue on the cabinet and the wall...as well as all your unique touches. Nice! :)
ReplyDeleteI love it A LOT. That teal color is gorgeous.
ReplyDeleteIt looks great. I love the colors. :)
ReplyDeleteI love it, Taby. Love the dark, dark floor with the white vintagy paint and cheerful aqua. Love that you brought furniture vs. cabinets into your bathroom... something I tried to do in my bathroom but didn't get away with as much realio trulio furniture as you did.
ReplyDeleteAnd as always, I love your whimsy. I feel like I can glimpse your personality in the fun/quirky little touches you leave behind. Is that Humpty Dumpty at the end? Oh, and the ruffles. Yay! I'm inspired. If you can have Humpty Dumpty and ruffles in the same space, that is saying much.
I love what you did to the cabinet. The colour inside is a fantastic idea.
ReplyDeleteTaby, will you please, please come over to the UK and redesign the entire of my household? I'm digging your style which is pretty much very similar to mine. It's just that I can't envision things like you can.
ReplyDeleteI NEED you. :)
-Lisa.
Sweet 2 Eat Baking
Ha! Glad you like it!!
Delete