Next step-- use a hole punch to punch two holes per circle.
Thread string or ribbon (I used thin green ribbon, on sale for $0.97 per 10 yds at WallyWorld, woot!). Space out the circles along the ribbon, then, if desired, you can secure each circle on the back by taping the ribbon where it comes out one hole then into the other.
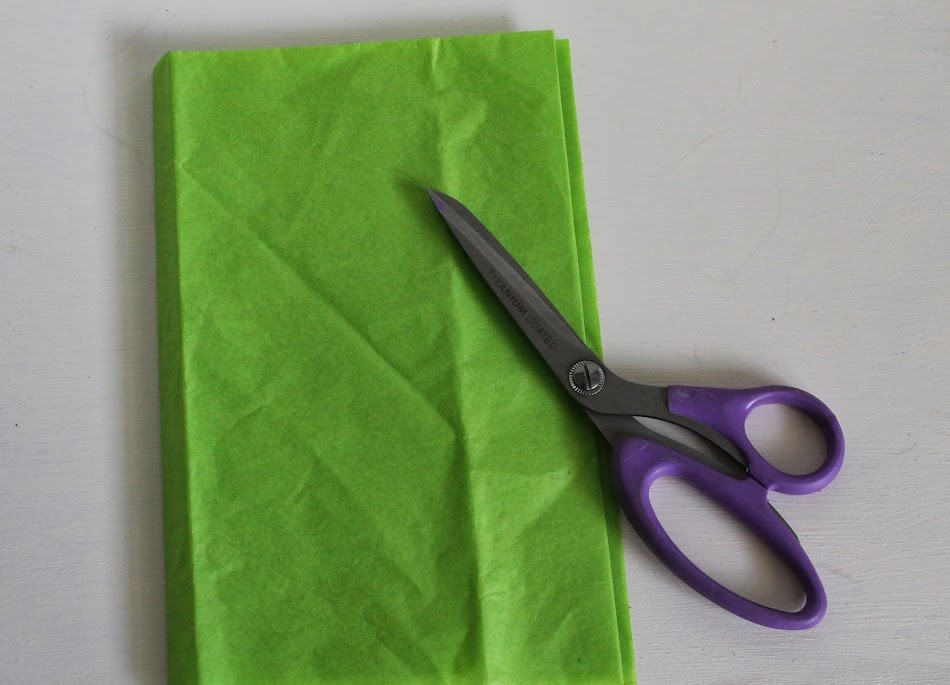
For the tassel, I folded a piece of tissue paper in half length wise, then twice more to get an easily cut-able width.
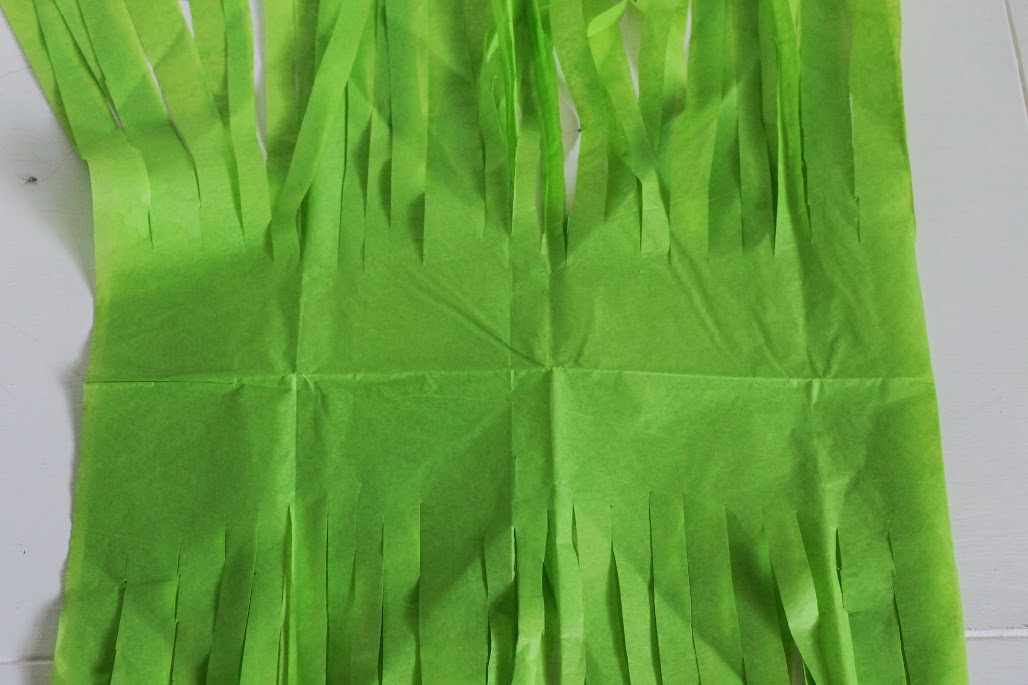
Cut your fringes, being sure not to cut the fold. You don't have to be exact about the width of the fringe.
Unfold the tissue paper. This bit is a pain in the neck, but c'est la vie.
Roll the tissue from one side to the other, as tight as possible.
Twist the center bit along the fold, between the two fringed sides until the paper turns in on itself creating a loop, then tie it off.
I tied it off with the same green ribbon I used for the garland, then tied it through the loop onto the end of the garland. I've seen numerous pins where folks have made an entire garland of the tassels-- super easy & cute.
And that is it! Didn't it come out cute?

I'm going to leave it up for a while. At least until it starts getting hot and I start craving simple, clean spaces. Right now I like the coziness of All The Stuff, if you follow.
Isn't the porcelain glove mold on the mantel utterly divine?? My folks got it for me at the last auction. I adore it. I'll show you the mirror they also got me, which is now hanging next to me in the craft room, in another post (I've already posted it on Instagram if you are burning with curiosity). We haven't been to an auction in an age-- we've been treading close to the budget due to Harper Ann's recent acquiring of a driver's license which necessitated our acquiring of a car. Sigh. Teenagers. But hopefully things will even back out soon & we can hit up the auction next month. I'll take pictures~*


No comments:
Post a Comment
Thank you for taking the time to comment! It is most appreciated~*