


As I said in that how to post, I intended to keep it up, altering what was hanging from it according to the season. After Christmas, I replaced the ornaments with snowflakes.


Cut out three shapes each per balloon and per cloud (if you were doing a 360 version, you'd need 6 per balloon/cloud).

Fold the one shape gently down the center, then use a ruler to draw a line. Attach the 3 pieces together with paperclips. Or clothespins if you can't find paperclips & get tired of looking for 'em~*

Sew them down the center line. I prefer sewing since it gives the thinnest possible line, and thus the cleanest fold, but you could also use glue or double stick tape in a pinch.


Do the same for each of the cloud sets.


Fold the ends so they meet neatly in the middle.

Glue the ends so they overlap, leaving you with a semi circle. Again, if you were doing a 360 version, you would make a full circle instead.

You could opt to do the birds 3 dimensional as well by cutting multiples and layering them as I did with the clouds and balloons, or you could do them 360 by adhering two together. I chose to leave them flat and one sided to make them simpler visually. Anyway, easy-peasy, just trace and cut out!


If you wanted this to be stuck directly to the wall, just apply removable double stick tape to the back of each piece, arrange them on the wall in question and you are done!

If you want them to hang, either in a frame or as part of a mobile, there is still a bit more to do. Get some filament thread or fine fishing line. For the birds, I simply attached the fishing line with hot glue. The dab of glue gave the birds enough weight to pull the line straight and allowed them to hang neatly. For a 360 effect, glue on the filament, then glue another of the same cut out to hide the filament.

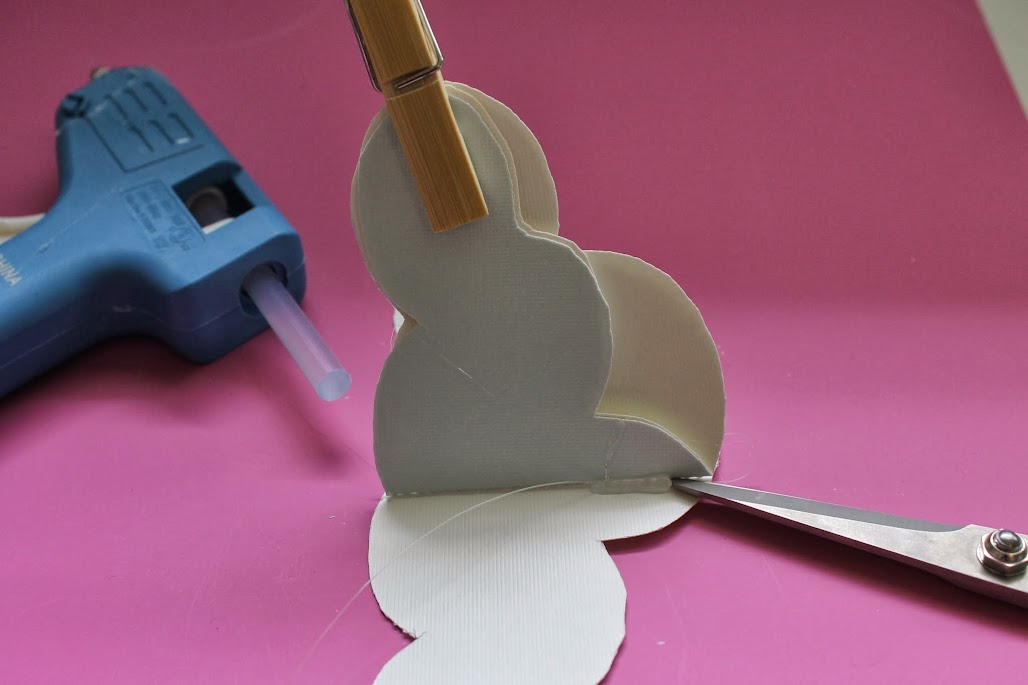
For the clouds and hot air balloons, I used hot glue in the seam to create little loops. To get it nice and tight, I clothes-pinned the center pieces together, and used the tips of my scissors to hold the filament in place.
To attach the basket I used three pieces of filament and clear tape to attach.
I used the same ornate ornament hooks that I got for the calendar to hang the pieces. For the cloud between the two balloons, I poked a hole with a needle and attached it directly to the hook, and attached two birds to the cloud. I varied the other clouds and birds, depending on the look I was going for.


I am really happy with how it came out!

We've been brainstorming all sorts of ideas for future designs-- another sky scene with kites and a sun, an under the sea version, or maybe a duck pond...it is so cool when your imagination gets unstuck!

No comments:
Post a Comment
Thank you for taking the time to comment! It is most appreciated~*