
Anyway.
I used some left over paint, some paper crafts & lacey pretties & whipped up a holiday room tout de suite~*


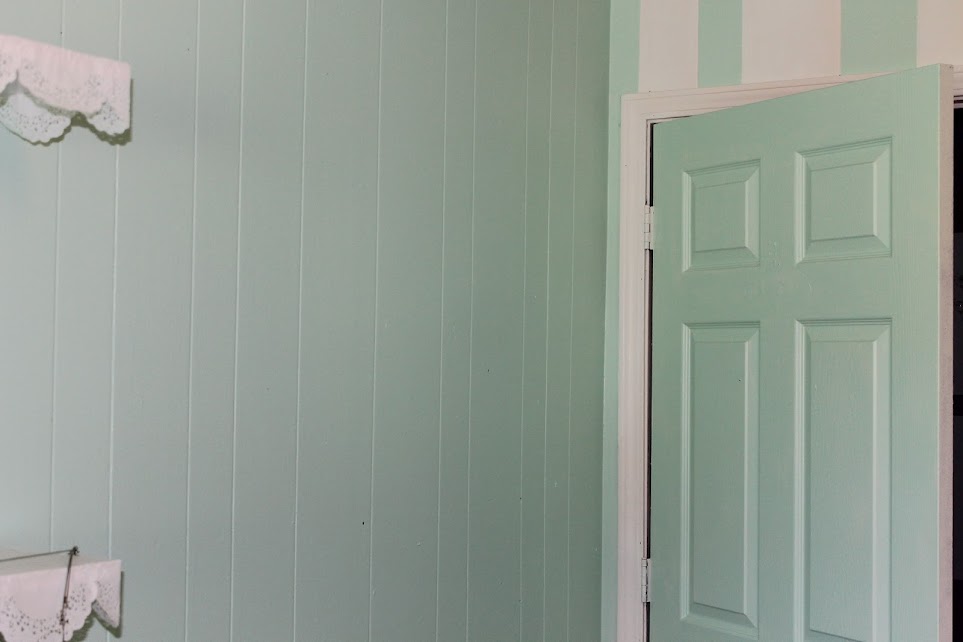
And the craft room redo was born. Thus far we've only purchased paint in mint & inexpensive white blinds {to last until we can afford the wood ones I want} and the long table that will hold my sewing machine and other craft thingies. Everything else we already had.


The white rabbit door is the lone survivor of an old amoire that I had painted to decorate Thing 1's Alice in Wonderland themed nursery. The cabinet long since fell apart, but I salvaged the door. Thing 2 & I are in the process of turning it back into a cabinet by hinging it to a simple shelf...but I'll show you when we've got it done. Right now its just resting against the shelf.


The chandelier is one of my favorite bits, and its also a leftover from the first room redo. We got an inexpensive square light fixture, then built a wood frame slightly larger than the fixture itself. I dug in to my fabric scraps & tore long strips of several cotton or lace fabrics, then attached the strips to the wood frame with a staple gun. Next, we screwed the wood frame to the ceiling around the light fixture. I used fishing line to gather all the fabric strips together, then looped them up to the fixture to create a bubble, leaving the tails of the fabric hanging down. Last thing I did was glue gun blue bows on all the corners and presto! Fabric chandelier!

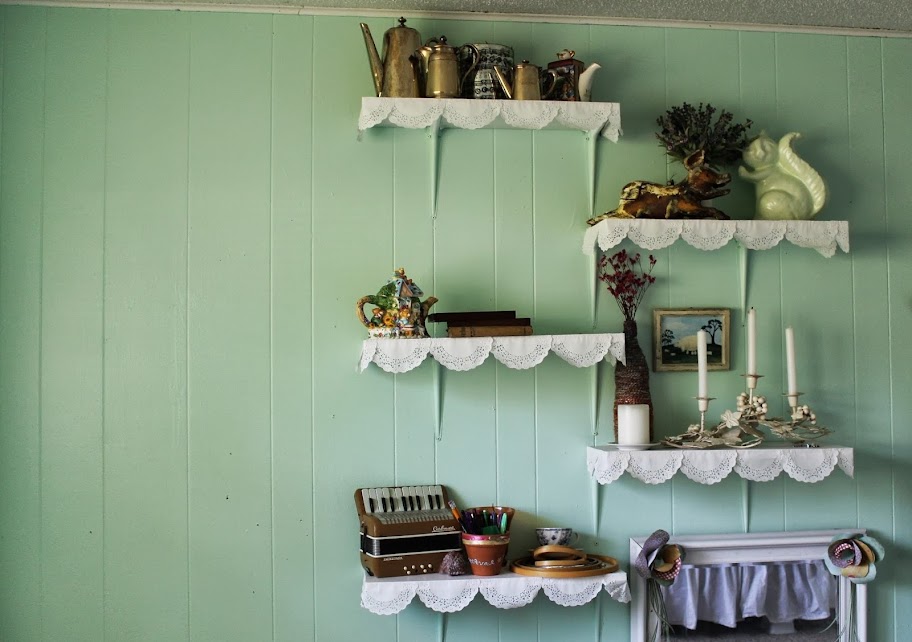
And I'd like to introduce you to Svea & Sven. They were my grandma's. I used to ask her to take them down and introduce me to them every time we went to her house. I love them madly.

Of course there is much yet to be done...

We have a frame to build for the twin bed turned day bed, chalkboards to make for my blog to do lists, corner stands to build for my computer...and a good office chair to buy from the office chair resell shop. Lots of projects to come.

It looks great, and how wonderful to have a whole room devoted to your projects! I bet that nursery was beautiful, the door you painted is awesome.
ReplyDeleteIt looks great so far! Love the mint color!
ReplyDeleteLove all the mint and white! Looks inviting :)
ReplyDelete