

I'd be lying if I said I pulled this project out of my own head-- I've seen stuff like it on dozens of blogs with variations here & there. In fact, I didn't even intend to do it until I was faced with a bare wall in a freshly painted bathroom.
My husband & I figured we'd stumble across something, somewhere, sometime & we left it at that. Then one fateful afternoon I went thrifting & found this:

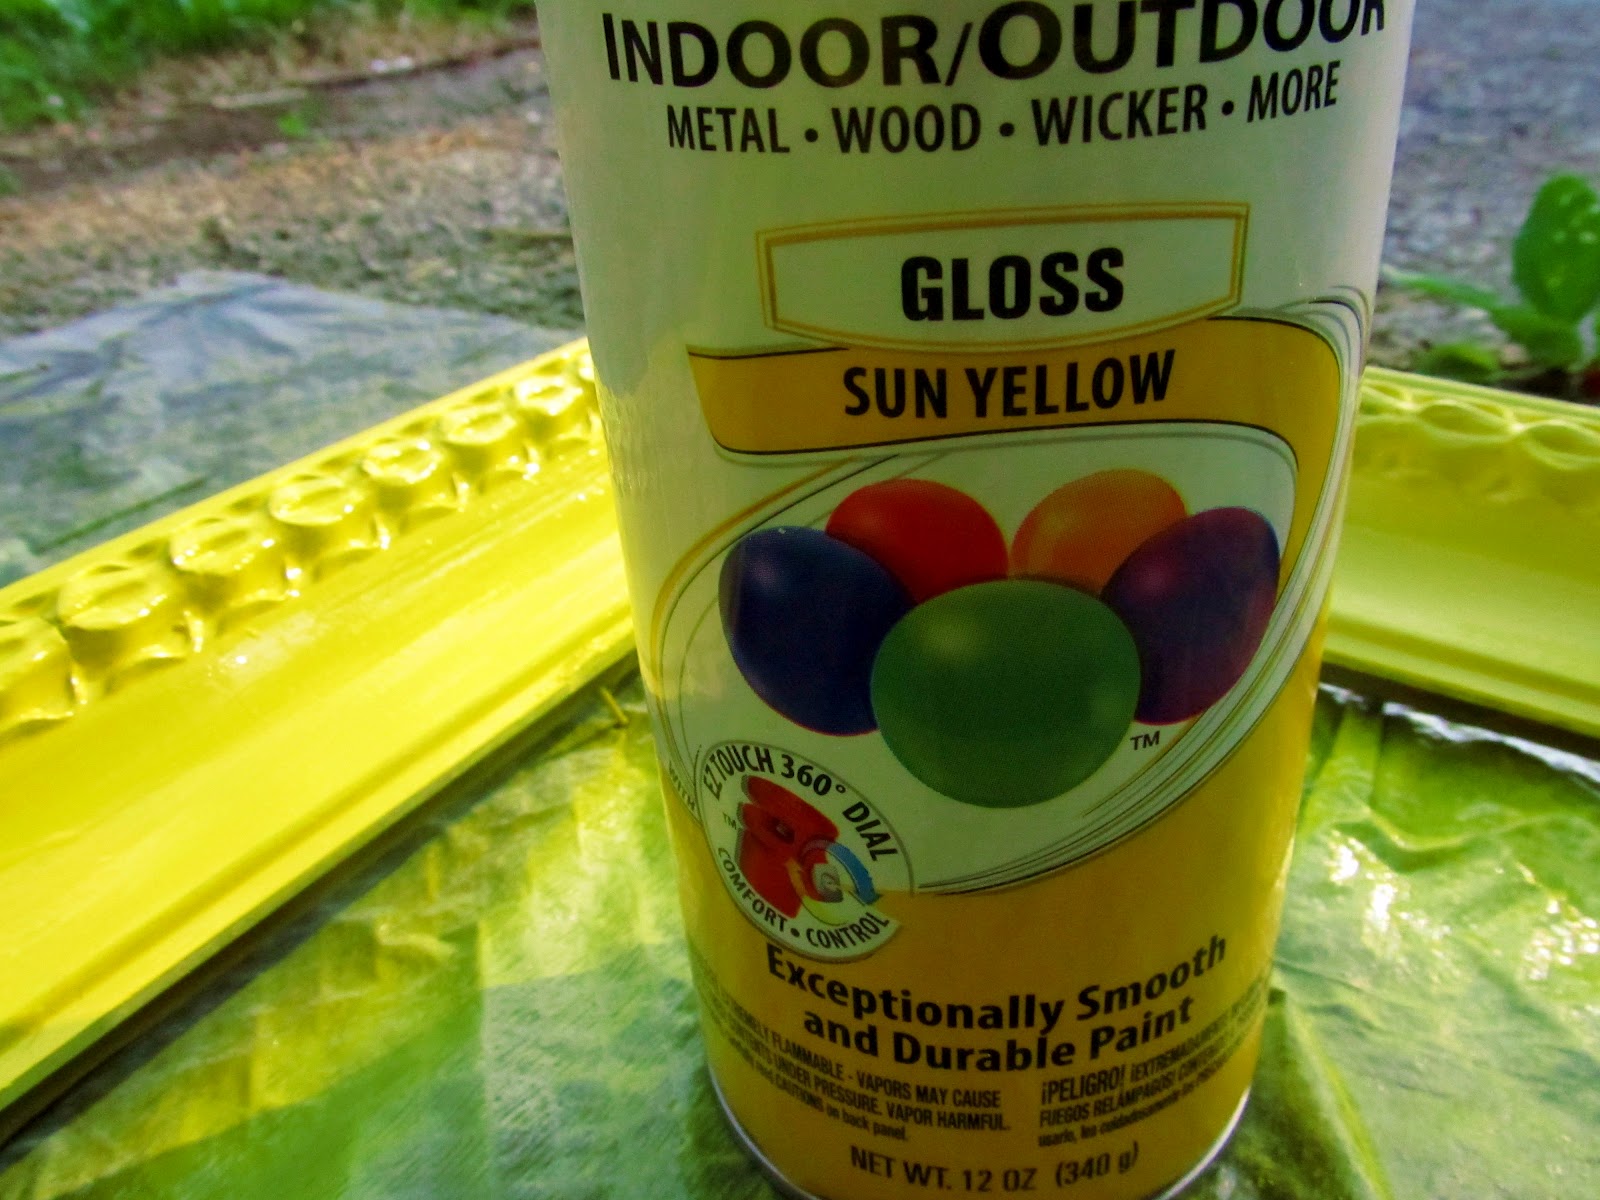
It was cheap, cheesy & just the right size if you stand it on end.
At first I wanted it just for the frame {not that it is good quality, but do you know how expensive big frames are?}, and while I was considering it I remembered this DIY & thought it would be the perfect sacrificial artwork {if you can call this an artwork-- its just a piece of paper with the scene on it glued to luan, not an actual painting}. Besides, at $7, if it was a colossal flop, no great loss, right?

I removed the frame, primed it, spray painted it a gloss yellow & set it aside to dry

Now for the fun part.
After much debate, I decided to use part of the poem Ode by the Irish poet Arthur O'Shaughnessy from Music and Moonlight published in 1874.
And we are the dreamers of dreams,
Wandering by lone sea-breakers,
And sitting by desolate streams;
World-losers and world-forsakers,
On whom the pale moon gleams:
Yet we are the movers and shakers
Of the world for ever, it seems.
Though most people are more familiar with it from here:
I love Johnny Depp & all, but Gene Wilder is unquestionably the best Willie Wonka...such subtle malice behind those crazy eyes. Just the sort of guy that would stand passively by as kids face choco-blueberry egg shoot shrunken perils. Doo-ba-dee-do~*
Anyway.
With your quote in mind, use the ruler {or level in my case} to draw lines far enough apart to accommodate your letters. Since my letters were 3", I drew my lines 4" apart.

Note: if you want the letters to come off cleanly & if you are using a poster or paper painting like I was, I would recommend sealing the poster with polyurethane spray at this point-- while I was happy with the result I got, it wasn't what I had imagined...you'll see what I mean in just a second. If you are using an old paint by numbers or other oil painting, it shouldn't be an issue.
 Here's a bit of a cheat for getting your quote lined up that doesn't involve math-- start with the last letter of the last word and work your way back. The same thing goes for mazes, incidentally-- start at the end and work your way to the beginning. I don't know why the maze thing works, but it does.
 Anyway.
I wanted a grungy look, so I wasn't too particular about lining the letters up perfectly-- though I didn't want them to be so off that it would be distracting.
Life is all about those fine lines separating casual creativity from chaos, don't you think?
Since I was going to be painting over the letters, the color of the letters didn't matter {which was convenient since they only had one pack in white & one in black in the size & font I wanted}.
After the letters are placed, gently paint over the entire picture. Don't lay the paint on too thick, you want a bit of the colors to come through. I used a dry brush technique {that created a line on my driveway to the confusion of toads everywhere} wherein you dip your brush into the paint, brush off excess paint on a cloth or available driveway, then apply it to the canvas.

Immediately after applying the paint, peel off the vinyl letters.

Here is where I kicked myself for not sealing before painting. The paint dampened the paper & caused it to bubble in a few places, & when I removed some of the vinyl letters, paper peeled away too. All of which I should have anticipated. Duh.
But then again...
After letting it sit & determining I could easily fix the problems by hand with paint and brush should I so desire, I decided I actually liked it with the imperfections in tact.

It reminded me of how the construction walls in New York look after the posters and fliers people stick to them are exposed to the elements. The Things & the hubby agreed which sealed the deal. Or more accurately, caused me to seal the deal with spray poly. I used the end of a pencil to poke down places where the paint had bubbled or peeled {with the poly acting, in those instances, as glue}, to prevent any additional damage-- since it will, after all, be exposed to moisture in the bathroom.

And now it hangs on the bathroom wall...although...
It may still be a work in progress. I like it how it is, but I can also see adding some hand painting to the top portion; maybe wispy clouds or some sort of vine work...we'll see. That's the best thing about this sort of project-- the only limit is your imagination~*
I like the rustic-ness of yours, but then I always find not so perfect more charming and less manufactured looking! Good job.
ReplyDeleteI tend to agree
DeleteThat's verry cool. You are always doing so many projects!
ReplyDeleteYeah...I'm a little hyper
DeleteLove it!
ReplyDelete& really easy too lol
Deletethat's great !!!
ReplyDeletexx,
Meelena
Thanks!
DeleteThis is great! Love the choice of words (and I agree - Gene Wilder is a far superior Willy Wonka) :)
ReplyDeleteWoot!
DeleteI love these, I've been seeing it all over blogs this year and I keep meaning to make one of my own too. Yours turned out pretty awesome.
ReplyDeleteI know-- and I can see why so many bloggers make them, its pretty darn easy lol!
DeleteWow this is really cool! I love the idea of using thrift store pics to do this. I always find the CRAZIEST things at thrift stores.
ReplyDeleteNicely done!
Trish
lovely DIY! it reminds me of one Elsie from A Beautiful Mess posted a long time ago... well done!!
ReplyDeleteDrawing Dreaming
Thanks for sharing this great DIY!! I'll have to try sometime!
ReplyDeleteWas sent over by Gina! ;0)