Showing posts with label crafting. Show all posts

Tuesday, June 24, 2014

Bayley's Flag: A DIY Patriotic Style


The other afternoon Bayley (Thing 1) came over and took over the garage for a little fourth of July project.  In the interest of full disclosure, her boyfriend did help some-- including taking pictures on his phone of the progress.
She adapted an idea she found on pinterest using scrap lumber they brought and paint I had around the house,  plus an old dish sponge cut into a star shape to make that bit easier.  They made two: one for her porch and one for her apartment wall (the pictures are of both in no particular order, though the larger one is shown at the top of this post, and the smaller on the bottom).  No other explanation is necessary-- easy peasy! 


She's going to distress it a bit once everything dries, so its not quite finished, but I wanted to get it up in plenty of time for the Fourth.  I'll see if I can't get her to send over another pic of the finished product.
Think I'll blatantly copy her idea and make one for Cecilia...  


post signature

Tuesday, June 10, 2014

An Accidental Pewter Finish How To

 A quick & easy craft for this week's post (just like I like 'em).  I'm sure most of ya'll have seen the how to for making clear bottles look something akin to mercury glass or old silver...


Get some Looking Glass paint, and a spray bottle filled with plain white vinegar.
Let us all pause for a moment to reflect on the wonder that is Amazon.com.


Clean the bottles thoroughly and remove any soap residue.  Mist them with the vinegar, then spray the Looking Glass paint.  Let it dry, wipe off the vinegar, then repeat.  Easy peasy.


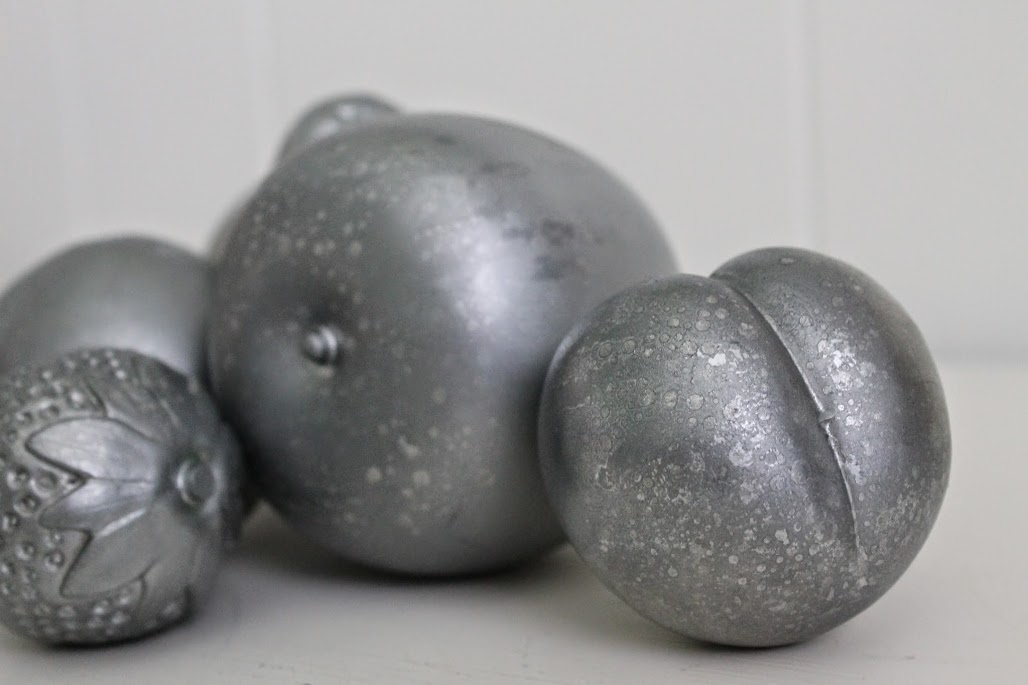
Now to mix it up a bit, I tweeked the above formula to make a pewter finish on some plastic fruit.  Why, you may well ask, did I want a pewter finish on plastic fruit?  Because I did.  Not much more thought went into it.


Anyway.  While you ordering from Amazon, you can pick up some play fruit and metallic paint.


I put the fruit in a large cardboard box, with strips of cardboard to prevent the fruit from rolling around.  Then I gave the fruit a coat of the metallic silver, waited for them to dry, flipped 'em over and repeated.  Once that was good and dry, I had a bunch of shiny metallic fruit in a cardboard box.  It looked cool-- like something Tiffany's would have in its "gifts for those who have everything" section.
But it wasn't what I was looking for,
So I got weird and misted it with vinegar and put on a coat of Looking Glass paint.  And ta da!  Pewter fruit!


Cool right?  Right??  Maybe I'm getting a little carried away.  But they look bitchin' on my mantel, and that is what matters in this household.


Happy crafting accidents are the best, aren't they?  


post signature

Thursday, April 10, 2014

Butterfly Mobile Project

These photo mobiles that I picked up years ago have proven themselves useful time and time again.  Right now they are hanging in the bathroom.  The previous owners anchored two big hooks in the ceiling to hold a hideous double pendant chandelier that they had "ingeniously" installed in the wall, then spread out and draped one gigantic glass bulb over each sink.  We put in track lighting, but the hooks remained.  The damage that would caused in removing them wasn't worth the effort.


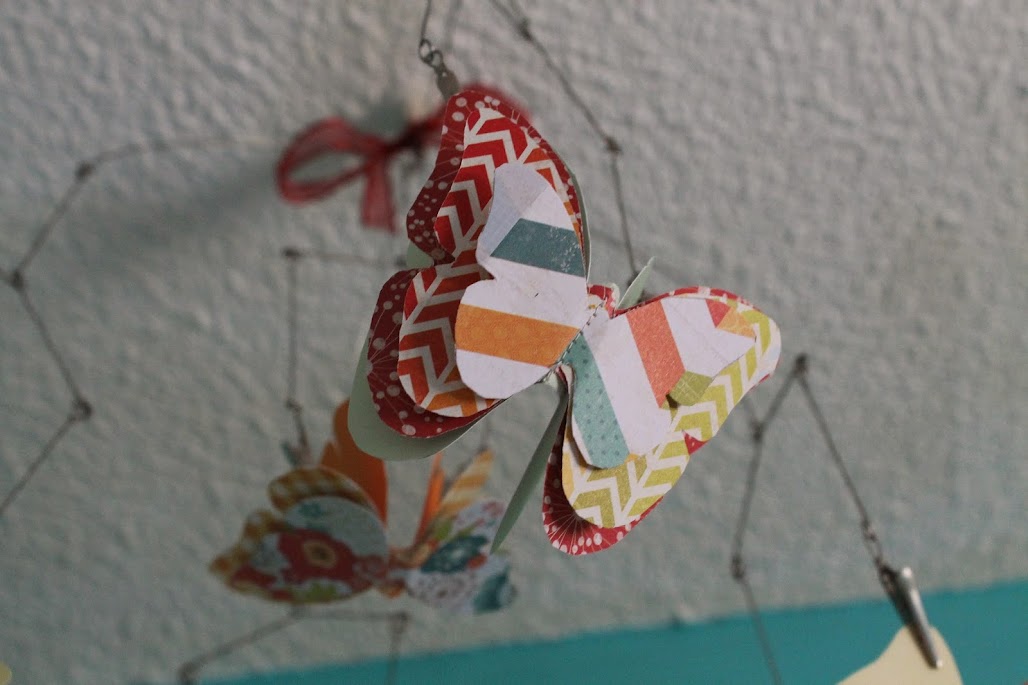
Over Christmas, I hung the mobiles from the hooks, along with some glass ornaments for a festive change of pace.  I liked the look and movement.  So for spring I updated it with paper butterflies.  I cut three butterflies of various shapes out of decorative cardstock, then sewed them together.  I attached the clips meant for photos to each wing, and there you go!


I'm quite pleased with the effect! 


post signature

Thursday, April 3, 2014

Quick & Easy Pillow Covers

I had a pile of pillows that needed a little freshening. 


Fortunately, I had amassed a pile of damaged vintage tablecloths just waiting to get used. Here's what I did:


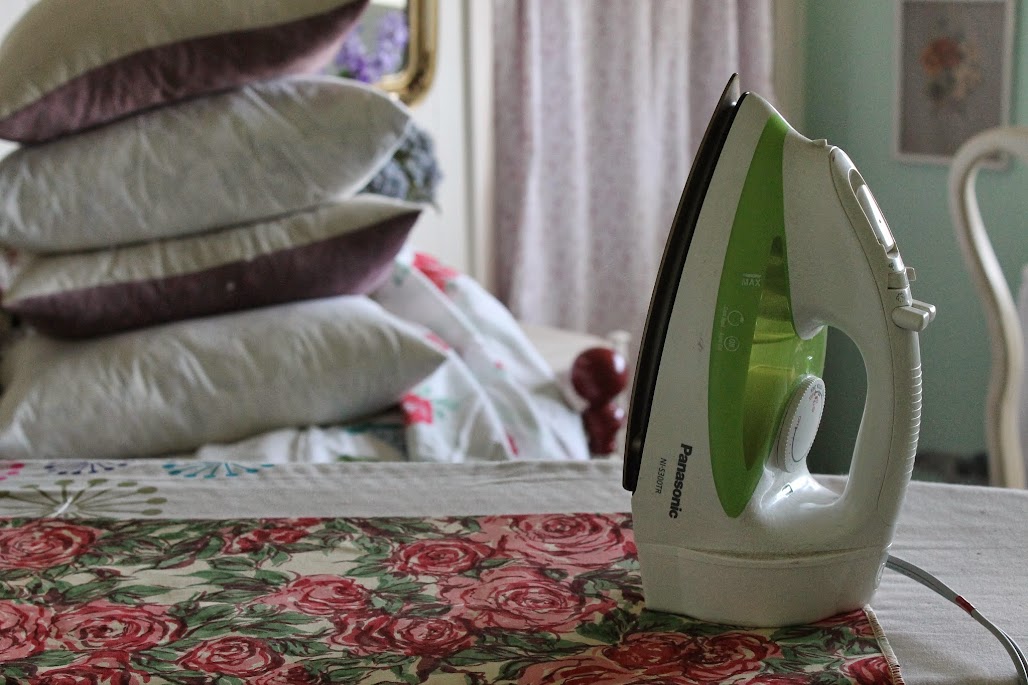
Press the tablecloths and cut about half an inch wider that the pillow on all sides.


Cut two pieces of plain cotton ( if you have enough, you can cut two more pieces of the fabric you have in the front, for three pieces total)


Fold one edge of each of the back pieces over and sew.


Pin the fabric, right sides together,  with the two back pieces overlapping (to make an envelope in which the pillow will fit)


Sew around the edges, trim the corners, flip right side out and press.


And that's it!  How easy!


I did several variations of the same pattern-- I think they came out cute & in about 45 minutes I had 4 refreshed pillows.  Can't beat that!


See!  My obsession with old linens paid off~*  Do you have any quick and easy ways to re-purpose linens or cover pillows?

post signature

Sunday, December 22, 2013

Three Quick Christmas Crafts

All of these are quick, easy & in progress.  They are varying degrees of kid friendly-- a great way to occupy little ones while parents are wrapping presents, cooking dinners or otherwise busy being parental~*


You'll need: Some pretty scrapbook paper, wooden spools, glue and/or tape, the tree pattern from my door bell post and (optional) ornament hooks.  Make both sizes of tree & create a whole forest for the table top! I"ll be giving ours to guests at our party as little take away presents.  
 Next year our Christmas theme is gonna be simple.  Literally.  Simple is our 2014 theme.  After this year, we need a tinsel break.  Anyway.  I'll definitely be revisiting this craft use plain white card stock for ornaments!


Puffball trees!  I picked up a few floral forms at the local craft store, and dug out my puff ball makers.  There are tons of tutorials out there for how to make your own puffball form out of cardboard etc.  I gotta say, we gotten our money's worth out of the store-bought version & if you are in to crafting I highly recommend picking some up from Amazon.  Its amazing how many things can benefit from a few puffballs lol.  Anyway.  This particular craft is still in progress-- I'll add finished product pics sometime soon, but I wanted to show you the in progress before Xmas!  Just set the kids to puffball making, then attach them to the form with straight pins-- easy peasy!


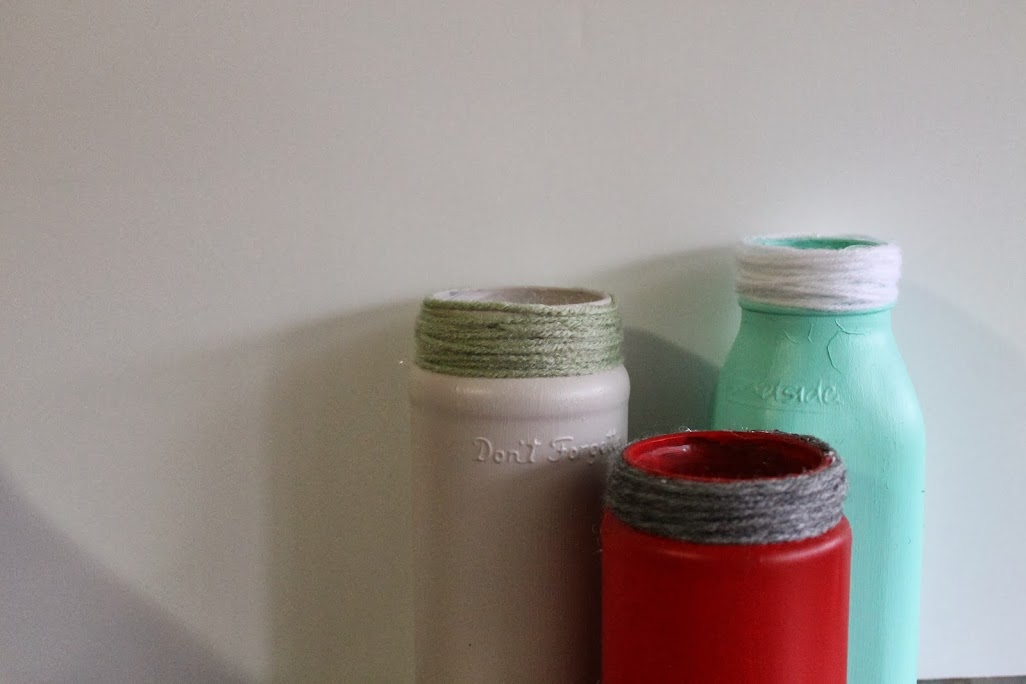
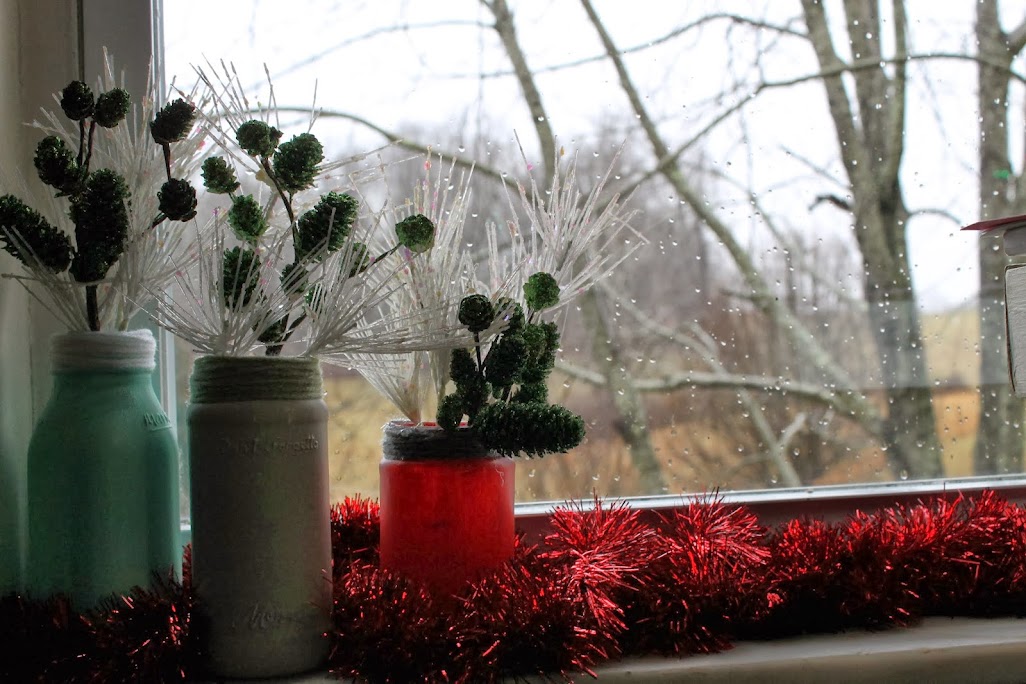
This last one is all over the place online.  Painting glass jars.  I love the look.  The trick is to A) Use Martha Stewart Multi-Surface paint B) clean the jars with rubbing alcohol or paint primer first and B) allow at least an hour between coats.  If you want them waterproof, you can put them in a cold oven and bake at 350 for 30 minutes.  I finished the top of the jars off with yarn and a glue gun-- they are deliberately not over the top holiday-ish because I intend to use them year round.  I have bunches of hoarded jars that will get a similar treatment once the holidays are over & I have the time!


So that's it!  

If you need me, I'll be at the kitchen table making puffballs!


post signature

Monday, December 24, 2012

Ho! Ho! Ho!

And the last pre-Xmas craft *drum roll* an original work by Thing 3!


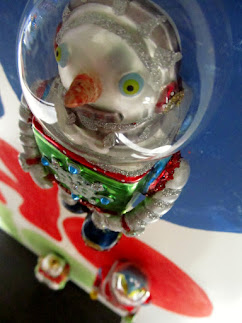
We had a blank spot on our wall, a piece of scrap wood, some paint & some phenomenally odd glass ornament cosmonauts.  I had tried a few different ideas, but didn't like the result.  After consulting the Things, we came up with the ho-ho-ho concept, but I had gotten so in to the little embroidered take home presents I was making for our Xmas Eve dinner that I didn't have time to do it.  Thing 3 volunteered, & the result is perfect.   


Isn't it smashing?  Its now hanging on the wall, all shiny & twinkly & ready for our guests to arrive~*

Well, that's it for me & the pre-Christmas crafts.  I still have other things to show you, but they will have to wait until after the holidays-- I'll be back in one week with more crafts, our New Years Resolutions, pictures of our party & a holiday house tour.

From all of us here at the Closet Intellectual, we wish you the merriest, jolliest & most glorious holiday~*  
See you New Years Eve Day!